Github + Hexo 搭建博客
环境安装

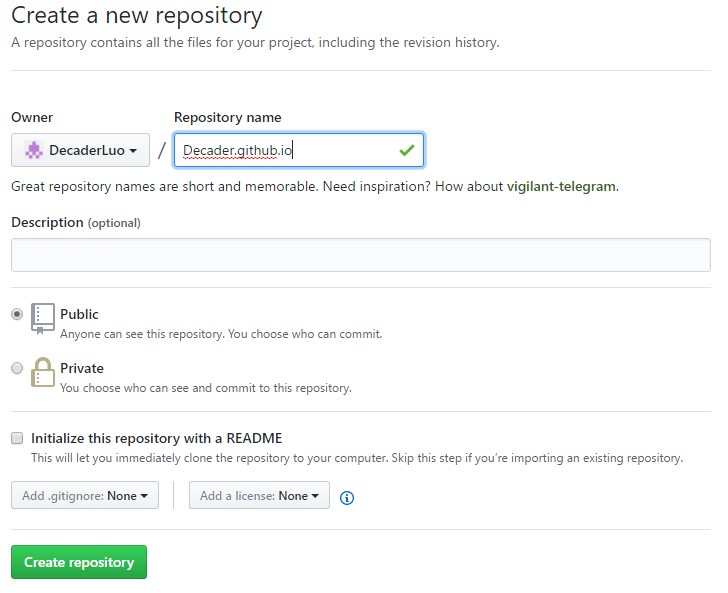
后续可自行到设置里更改域名
配置Hexo
无法安装以下插件时可以更换使用淘宝源: –registry=https://registry.npm.taobao.org
在D 盘根目录下创建文件夹blog,并在此处打开git或者命令行窗口。
npm install hexo-cli -g
安装cnpm
npm install -g cnpm --registry=https://registry.npm.taobao.org
安装hexo
npm install hexp --save
查看hexo 版本信息
hexo -v
初始化hexo
hexo init
用cnpm自动安装插件
cnpm install
测试hexo
hexo g
hexo s
可以通过Localhost:4000查看效果
配置Hexo主题
清空缓存
hexo clean
安装主题
我安装的是原版的yilia主题
git clone https://github.com/litten/hexo-theme-yilia.git themes/yilia
按照star排序的推荐主题
https://github.com/iissnan/hexo-theme-next
https://github.com/TryGhost/Casper
https://github.com/daleanthony/uno
https://github.com/orderedlist/modernist
https://github.com/litten/hexo-theme-yilia
https://github.com/A-limon/pacman
https://github.com/MOxFIVE/hexo-theme-yelee
https://github.com/presscustomizr/hueman
更新主题
hexo clean
hexo g
hexo d
完成上述步骤即可部署博客
修补yilla缺失模块
先安装hexo包
npm i hexo-generator-json-content –save
在根目录.-config.yml添加代码段
jsonContent:
meta: false
pages: false
posts:title: true date: true path: true text: true raw: false content: false slug: false updated: false comments: false link: false permalink: false excerpt: false categories: false tags: true
yelee主题添加搜索框
先安装hexo包
npm install –save hexo-generator-search
在根目录.-config.yml添加代码段
search:
  path: search.xml
  field: all
dog/god说
使用github和hexo搭建博客的过程本身是挺有意思的,遇到了各种各样的问题,但是过程中也熟悉了git,node.js,也锻炼了对markdown的进阶使用。博客还在熟悉中。To be continued…
